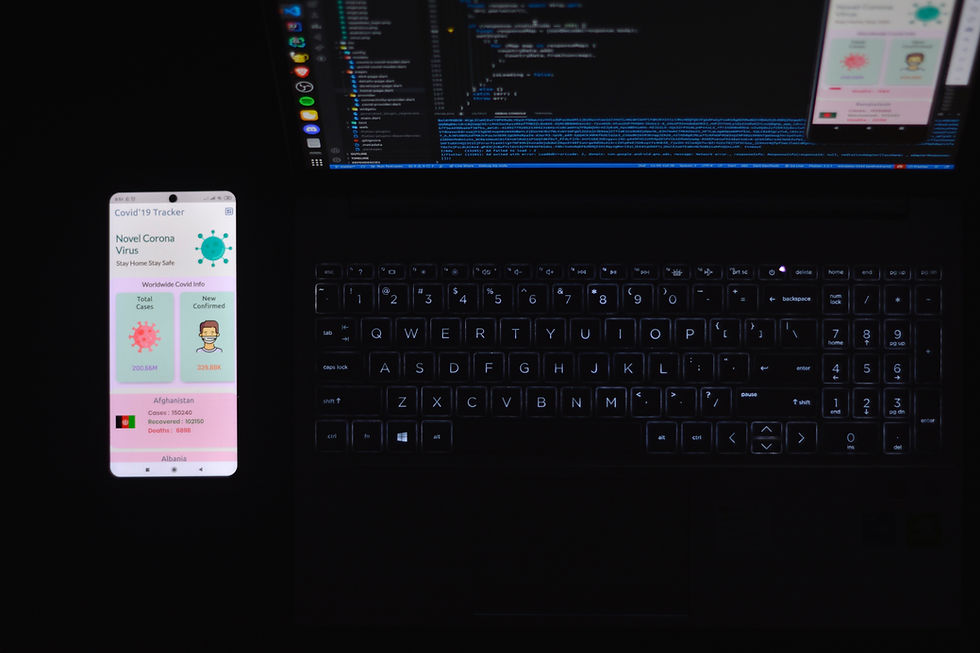
Flutter is an open-source mobile application development framework created by Google. It allows developers to build high-quality, natively compiled applications for mobile, web, and desktop from a single codebase. Flutter uses the Dart programming language, which was also created by Google, and provides a rich set of pre-built widgets, tools, and libraries to simplify the development process.
In this guide, we will cover the basics of getting started with Flutter, including setting up your development environment, creating a new project, and building a simple user interface.
Prerequisites
Before we get started, you'll need to have the following software installed on your computer:
Flutter SDK
Android Studio or Visual Studio Code (with the Flutter extension)
Xcode (if you're developing for iOS)
You can download the Flutter SDK from the official Flutter website: https://flutter.dev/docs/get-started/install
Creating a New Project
Once you have Flutter installed, you can create a new project by running the following command in your terminal:
flutter create my_appThis will create a new Flutter project named my_app in your current directory.
Running the App
To run the app, you'll need to have an emulator or a physical device connected to your computer. To start the app on an emulator, run the following command:
flutter runThis will build the app and launch it on the default emulator.
Building the User Interface
Flutter provides a wide range of pre-built widgets that you can use to build your app's user interface. In this example, we will create a simple app that displays a list of items.
First, open the lib/main.dart file in your project directory. This is the main entry point of your app.
Next, remove the existing code and replace it with the following:
import 'package:flutter/material.dart';

void main() => runApp(MyApp());

class MyApp extends StatelessWidget {
  @override
  Widget build(BuildContext context) {
    return MaterialApp(
      title: 'My App',
      home: Scaffold(
        appBar: AppBar(
          title: Text('My App'),
        ),
        body: ListView(
          children: [
            ListTile(
              leading: Icon(Icons.ac_unit),
              title: Text('Item 1'),
            ),
            ListTile(
              leading: Icon(Icons.access_alarm),
              title: Text('Item 2'),
            ),
            ListTile(
              leading: Icon(Icons.accessibility),
              title: Text('Item 3'),
            ),
          ],
        ),
      ),
    );
  }
}
Let's break down the code.
The import 'package:flutter/material.dart'; statement imports the Material package, which provides the MaterialApp widget that we'll use to define our app's theme and navigation structure.
The MyApp class is a stateless widget that defines the structure of our app. In this example, we've defined a simple MaterialApp with a Scaffold widget as its home screen.
The Scaffold widget provides a basic framework for our app's layout, including an app bar and a body. We've set the app bar's title to "My App" and the body to a ListView widget that displays a list of ListTile widgets.
Each ListTile widget displays an icon and a title. We've used three different icons (Icons.ac_unit, Icons.access_alarm, and Icons.accessibility) and three different titles ("Item 1", "Item 2", and "Item 3").
Conclusion
In this beginner's guide to Flutter, we covered the basics of setting up your development environment, creating a new project, and building a simple user interface. We used pre-built widgets from the Material package to create a basic layout, and we explored some of the basic concepts of Flutter app development.
As you continue to learn and explore Flutter, you'll discover many more powerful widgets, tools, and libraries that can help you create beautiful and highly functional apps. With its rich set of features and excellent documentation, Flutter is a great choice for developers who want to build high-quality, cross-platform applications quickly and efficiently.
Comments